Bye bye blog…

I stopped writing posts for this blog in March and thought I could just let it disappear into the blogosphere or whatever, but I thought I’d better make it formal and let any readers know (it’s hardly had any views recently though) just to be polite.

This was my first blog and served as a good introduction into blogging but after starting another one soon after, I don’t feel as though I have the time to dedicate to this. Plus a lot of the time I’d rather get on with the eating of said food rather then thinking ‘Oooh, this would make a good post for the blog!’ and getting a camera out and writing down an official ‘recipe’ when a lot of the time, my everyday food is just me chucking ingredients together into an edible meal.

Ta-ra and Happy Eating!


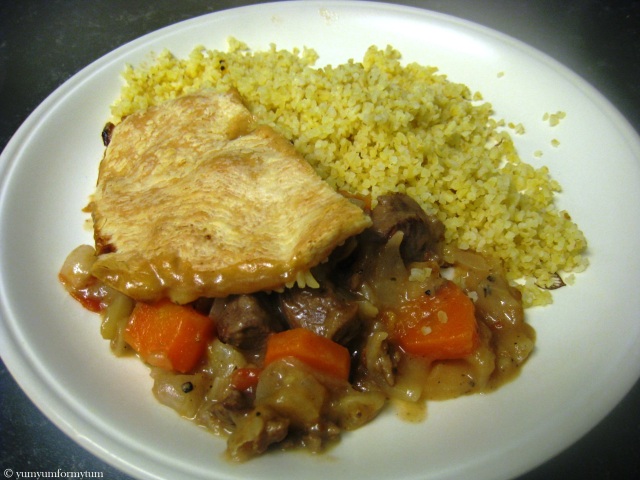
Beef and Vegetable Pie

I love going home-cooked food – my mother makes a really yummy pie which is incredibly easy to make, plus all the winter weather made me crave it more, so I had a go myself. Again there’s not ‘strict’ recipe but I’ve sort of put together one if you want to follow it.

Beef and Vegetable Pie, serves 1-2

YUMmo dinner!

-Some chunky diced beef (you can buy this pre-pared easily), about a few hundred grams (or you can just judge by eye how much you need)

-Puff pastry (I used Jus-roll ready made kind) thinly rolled out and enough to cover your chosen ovenproof dish

-Onions

-A selection of vegetables such as carrots, celery etc.

-Salt and pepper to season

-Liquid stock (Chicken/beef/vegetable)

-Cornflower (or plain flour)

1. First season the beef with salt and pepper and let it marinate for a little while if you have time.

2. Seal the beef in a well-oiled hot pan until brown on all sides. This should only take a few minutes. Leave aside to rest.

Sealing the beef

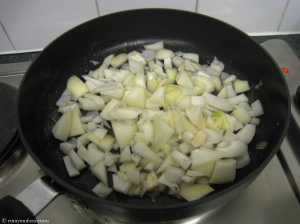
3. Use the same pan (with all the beefy juices) and gently toss in some chopped onion.

Onions

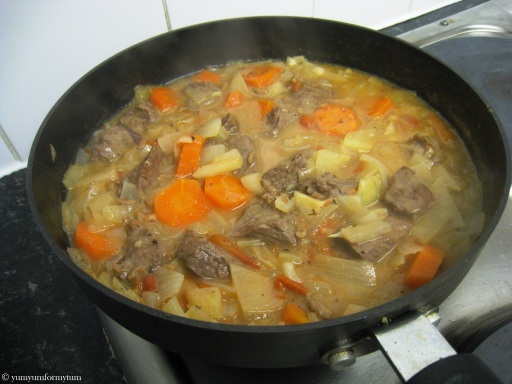
4. Gradually add in your other chosen ingredients – I didn’t have many vegetables left as it is the end of term so it was slim pickings! Once the onions have started to caramelise, add in a good mug or two of liquid stock. Let it simmer gently for 20 minutes or so. You can also put your meat back in now along with any juices escaped.

Pie filling

5. When you are satisfied with the taste, turn off the heat and stir in some cornflour (I wasn’t going to buy it just for this so I settled for plain flour that was already in my cupboard). Add it in slowly stirring continuously so that the filling does not become lumpy.

6. Roll our your puff pastry to the thickness of about a pound coin and prep your ovenproof dish – spoon in a good amount of filling and ensure it is all covered by the pastry. Bake at about 200 degrees Celsius until the pastry is golden brown (I was a little impatient after half an hour so mine doesn’t have as good a crisp as I would like, but I was hungry…)

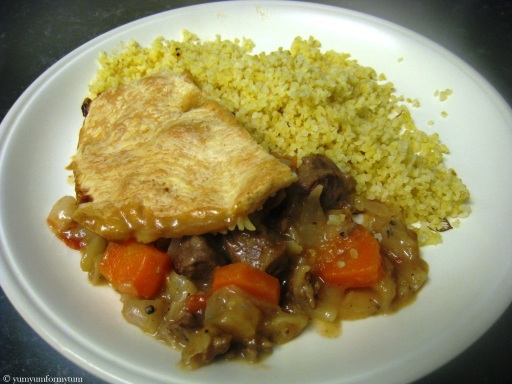
YUMmo dinner!

I ate mine with a little bulgur wheat (cooked in boiling water for about 10-15 minutes). Enjoy!

> I would love to hear about your favourite pie combinations below in the comments so feel free to type away!

Roast Chicken

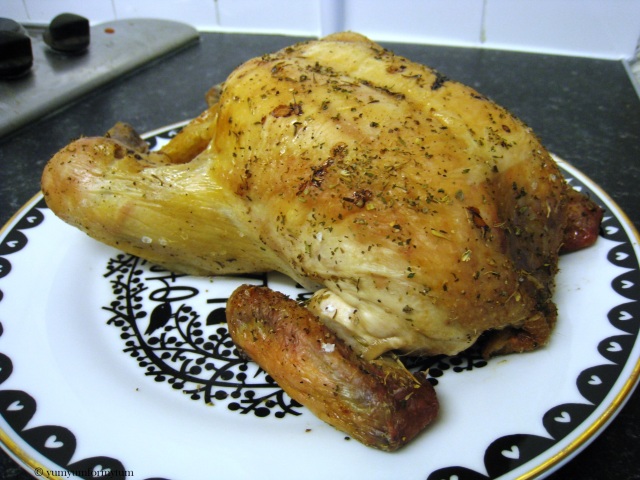
A little while ago I bought a chicken and decided to cut it up into the individual parts so that I could cook them separately when I wanted to, otherwise they were stored in the freezer. However since my knife proved it wasn’t up to the job, I thought this time I would roast the chicken whole and them portion it off afterwards. Doing this saves a lot of money if you buy a lot of pre-packed chicken meals and means you always have something in the freezer for back up! I like to buy the free-range chicken and if you can get it discounted, even better (I bought mine £1.50 off per kilo) – so you end up paying just over £5 for a whole chicken basically. Anyhoo, this is what I did to marinate the chicken:

1. Season with salt and pepper and some dried herbs. Pat into chicken and leave in the fridge for as long as you have (overnight is ideal).

2. I popped a few cloves of fresh garlic inside the chicken too just to give it some extra flavour. Drizzle some oil over the chicken and place on an ovenproof dish. You could also add some onions and other vegetables in the dish if you wanted and other seasonings. I cooked it for about an hour at 200-220 degrees Celsius. To check when your chicken is done, insert a sharp knife into the body and see whether the juices run clear (yep done) or red (it needs a little more cooking).

Roast Chicken

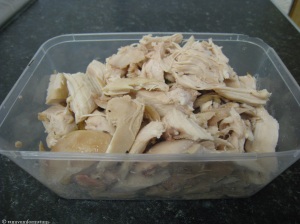
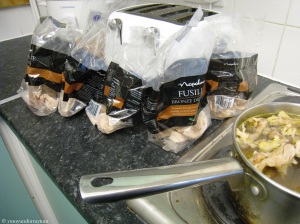
3. After cooking you can then start shredding it and taking of the meat – I ended up getting about 8 individual portions from it (with the help of recycled pasta bags for storage in the freezer)!

Shredded Chicken Chicken portions

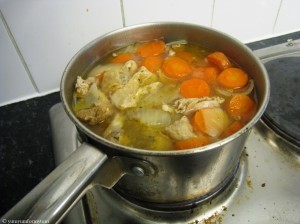
4. Make sure you save the residue from the oven dish as you can just run a little water onto it and scrape of the remainder into a large pot for stock (keep the bones and any leftover bits of meat too as they really enhance the flavour).

Chicken stock

Wraps for lunch!

IMG_7743

So I have been loving these Warburton’s Rectangle (although they are called ‘square’ ish on the packaging) Wraps. I have taken a photo of the serving suggestions as you can see above and I find the shape much more versatile than round tortilla wraps that I normally use. So far I have only tried them out with salad-like fillings on the inside but you can also place filling on the top and turn them into ‘pizzas’ of some sort by just popping them in the oven. I only wish they had a part wholemeal or healthier option as I don’t normally buy white loaves, apart from that I think they’re great.

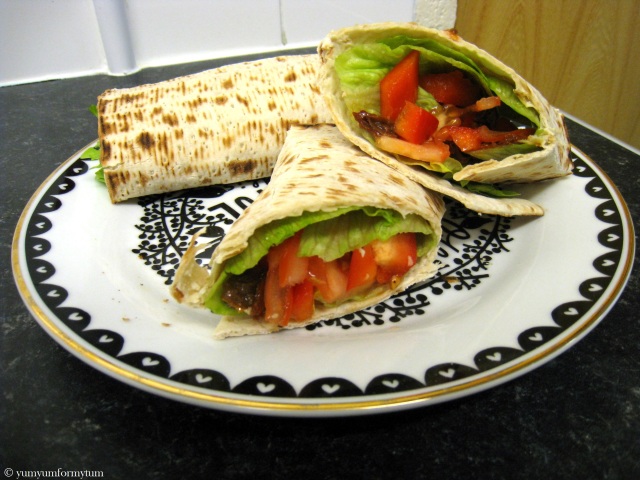
I tend to use my ‘normal’ salad ingredients but for today, just used whatever I could find in the fridge – large lettuce leaves, chopped red pepper, thinly sliced tomatoes and some chopped up sundried tomatoes too. Normally in salad I like to use mixed salad leaves (pre-packed) and add in some cucumber, sweetcorn and par-boiled carrots too and drizzle with some sundried tomato flavoured oil from the jar, but of course you can add anything you like. The other day I had one with cheese and ham (almost like an ordinary sandwich) but you could also add meat like chicken to beef it up (I tend to make up for this by eating two or three…).

Wrap filling prepped

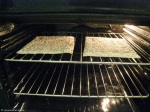
Whilst I’m prepping the vegetables, I like to just put them flat into the oven to warm up slightly but you could just warm them up in a hot pan too on a low heat.

Wraps warming in the oven

Finally assemble your filling with your wrap in whichever way you please and guzzle down for a lovely lunch!

Lunch time!

I would love to hear you ideas for favourite wrap fillings too so feel free to comment below!

My Favourite Meals of the Week

pork pre cooking  pork + bulgur wheat

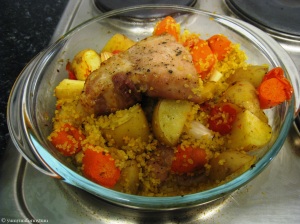
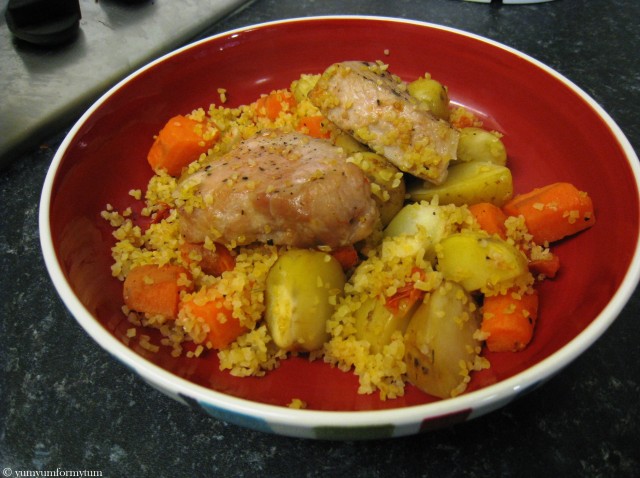
This is how I cooked some pork loin steaks I bought (you guess it! HALF PRICE at Tesco’s). It is a sort of ‘casserole-y’ type dish where I just bunged some garlic, shallots, early potatoes, tomatoes and carrots topped with the pork into the oven. After about 20-30 minutes (I kind of lost track of the time), there were some lovely aromatic juices at the bottom of the dish so I added some bulgur wheat to bulk it up a bit and absorb everything.

finished port + veg casserole

In hindsight I would have pre-cooked the potatoes maybe for 10-15 minutes first so that they were a little softer. But all in all, quite a yummy little dish and very easy to make as everything is in one dish. It is also an easy one to keep in the fridge for leftovers the next day!

chicken noodle soup + veg

This chicken noodle soup/broth was really to use up some defrosted chicken stock I had in my fridge and my oh my did I feel full afterwards. It felt like I had eaten two meals – I actually had to stop half way for a ‘break’. To be fair I did use a whole courgette and half a lettuce as well as some prawns though. Eyes bigger than my belly.

steak and misc

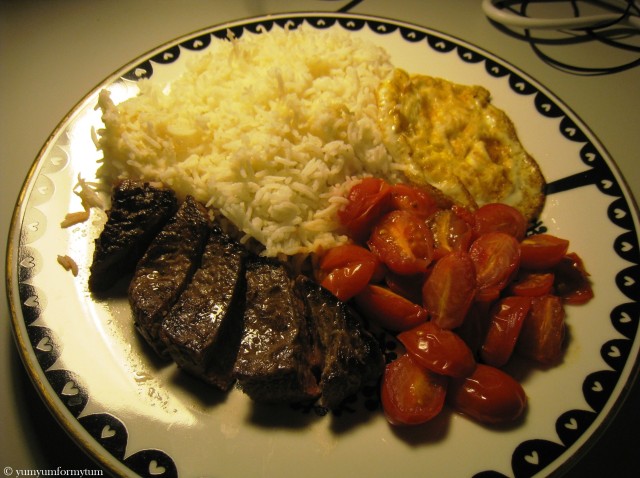
I put the leftover garlic butter (‘recipe’ here) that I had made earlier that week into the pan to give the steak some lovely flavouring and cooked it more towards the well done side this time. After resting, cut into slices. De-licious. I just served with some roasted plum tomatoes (10 minutes in the oven on a moderate heat), a fried egg and rice. A bit of a miscellaneous dinner but I enjoyed every minute of it.

Eight-strand plaited loaf : The wholemeal version

So this is take two of my attempt at an eight-strand plaited loaf and I am pleased to report that it was more successful than last time. Now I must admit this post is long overdue since you can probably tell I made this at home (when I went back for Christmas by the use of baking utensils. Anyway since it has been pretty cold here for the last week or so (with the odd bit of snow), I thought I’d do my updated post on this Paul Hollywood recipe.
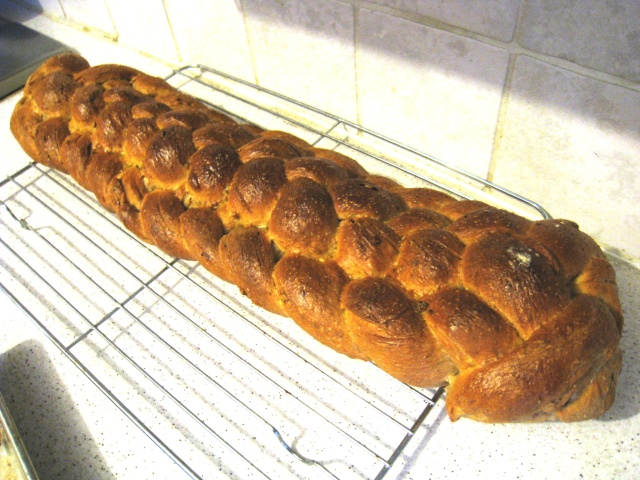
Wholemeal plaited loaf

Now as I was making a wholemeal version of the recipe’s white loaf, I made a few changes to the original recipe:

– 450g strong wholemeal bread flour

– 150g strong white bread flour

– 12g salt

– 12g instant yeast

– 35g unsalted butter, softened

– 400ml or so of tepid water

– Olive oil

Since flour is one of the key ingredients, I think it is best to buy a good quality bread flour as you will definitely reap the rewards on tasting. We tend to use the Allinson Flour brand and for the 450g wholemeal bread flour of this recipe, I used a combination of this seed and grain mix with this country grain mix. I particularly enjoyed the ‘country grain’ mix which had malted wheat flakes, rye flour and malted barley flour in it with the seeds as they created a lovely nutty flavour and texture. The inclusion of a little white bread flour gives the dough a slightly lighter texture as sometimes dense wholemeal flour by itself can be a bit ‘heavy’ – however if I use the same to mixes in the future I doubt I will need to even use the white flour. Obviously you can replace the quantities with whichever flours you prefer and have readily available.

Other than that, the steps of the recipe were as before. You can of course just use the recipe and make *ordinary* shaped loaves but since it was our ‘Christmas’ dinner (explanation at the end), I thought it would look pretty on the table.

1. First mix the bread flours with the yeast and salt, taking care not to let the yeast and salt mix. I like to do this in a large bowl otherwise it goes everywhere.

2. Add 3/4 of the butter and a little water at a time into the bowl. Gradually continuing mixing the dough until you have added all the butter. You don’t really need to use all the water if the dough comes together easily. It should be pliable and not too dry/wet and you can now turn it out onto a lightly oiled and clean surface.

3. Knead the dough for 5-10 minutes until it begins to stretch back. You can test when it is ready by prodding a finger into it, if it bounces back to its original shape, it’s ready for proving. Form the dough into a rough ball shape and place into a lightly oiled bowl. Cover with cling-film and leave in a warm place to prove for an hour.
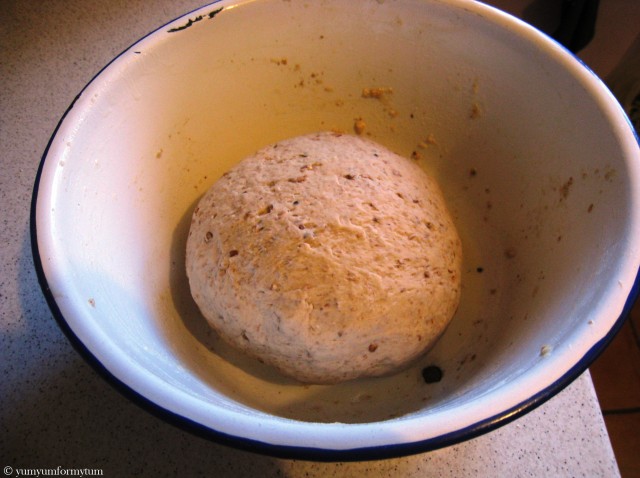
wholemeal dough

Photograph is before proving

4. Knock back the dough (give it 2-3 kneads). It is now ready for plaiting. This time I took it a little more seriously and actually weighed the dough and divided it into eight equal portions. Roll out with your fingers into sausage-like strands against the surface and move your hands from the centre out to the edges each time to keep the shape even. You need quite a bit of patience here as the dough likes to stretch back so you have to persevere and I aimed for strands of about 45cm in length. It took  a good 20 minutes. Once they are all even width and length, arrange them like so:
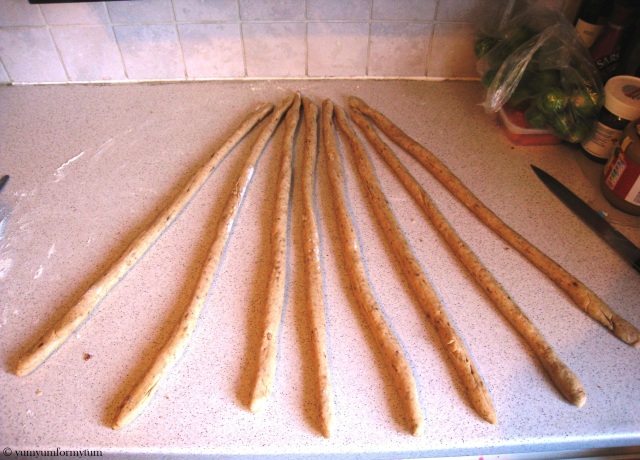
Strands at the ready!

5. – Number them from left to right 1-8. ‘Squidge’ (technical term) the top of the strands together and tuck underneath slightly to create a neat starting point. Then:

– Place 8 under 7 and over 1

– Place 8 over 5

6. – Place 2 under 3 and over 8

     – Place 1 over 4

     – Place 7 under 6 and over 1 

7. Repeat only step 6 (all the highlighted parts above) until you run out of dough.

8. Squidge the end strands together and tuck neatly underneath again.

Plaited loaf

9. Place your now plaited loaf onto a floured large baking tray and cover again for a second proving for another hour or so.

10. Brush your loaf with beaten egg wash and bake in a 200 degrees Celsius oven for 25 minutes (thereabouts) until golden brown on top and portrays a hollow sound when gently knocking the underside of the loaf.

11. Treat with love and serve. I made this for our ‘Christmas dinner’ which was actually our New Years Day lunch/dinner and decided to cut it in half with smaller slices arranged around the plate. It does particularly well with soup. Enjoy!

1st attempt
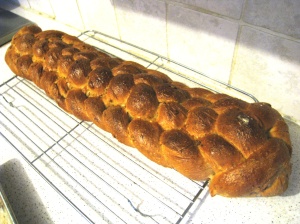
1st attempt

2nd attempt
2nd attempt

A Hearty Lunch/Dinner with Steak

So I got home this morning after running a 10km race which I cycled 20 minutes each way too – so yeah I was famished and needed to stock up my stomach on food! A few days ago Tesco had half price rump steaks and being a meat-lover, I just couldn’t resist the deal and bought a packet for my freezer. I cut them into slightly smaller pieces so they would last longer and pre-seasoned a little with salt and pepper before putting in to the freezer. Since I knew I was doing the 10km race, I’d already taken one piece out to defrost in anticipation of a hearty lunch when I got back. So here is what I made.
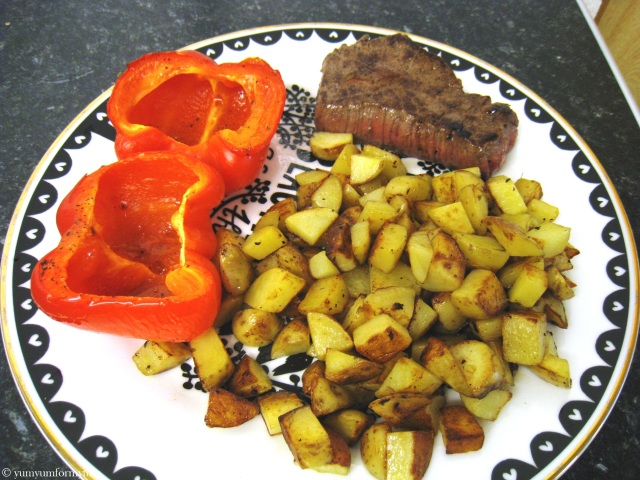
I had a red pepper that needed eating to I chopped it in half, drizzled a little oil on top, seasoned and then bunged onto a tray into the oven at a moderately high heat (about 180 degrees Celsius) to soften whilst I prepared everything else.

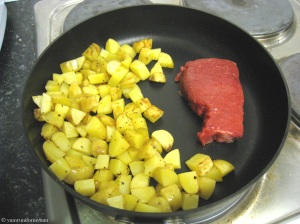
Next I took washed some ‘Charlotte’ potatoes keeping the skin on.

potato prep

The idea of making sautéed potatoes came from a Sorted food video I saw which I thought was a clever way of cooking them quickly without an oven – so this is how I did it.

I chopped them into small chunks/cubes of roughly even size so that they would cook quickly and at about the same rate.

cubed potatoes

Then I love using the leftover sundried tomato flavoured oil to give other foods the flavour so drizzled some into a hot pan. The potatoes take about 20 minutes turning every few minutes so they don’t burn. Season with salt, pepper and a light sprinkling of mixed herbs if preferable.

potato seasoning

Now time for the star of the show – the steak! Brush a little oil onto the sides and place carefully into a hot pan (I shared mine with the potatoes) for a few minutes. The cooking time will be dependant on how thick your steak is and also how you like it done.

sharing the pan!

I prefer medium so a few minutes on either side was perfect. Season a little more with salt and pepper in the pan if needed and then importantly, leave your steak to rest.

Looking a bit lonely on the plate!

Looking a bit lonely on the plate!

I left my steak for about 10-15 minutes before plating up with the sautéed potatoes and peppers. A hearty lunch or dinner for anyone which can also easily be multiplied!

A hearty lunch/dinner with steak

Super quick panini sandwich

So this post is ultra late on account of my excitement at all the Christmas food at home – anyway it is just a super quick sandwich that you can fill with anything really, but toasting it in the oven just gives it that extra warming feel.

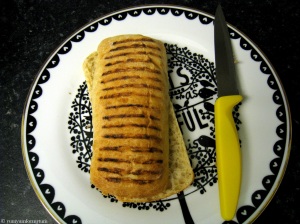
I bought a pack of panini rolls (you could use ciabatta, or ordinary round rolls) and cut them lengthways in half. Drizzle with a little olive oil if you like and place flat side up in a hottish oven (around 180 degrees Celsius) for 10-15 minutes or so until crisp and golden.

Panini bread

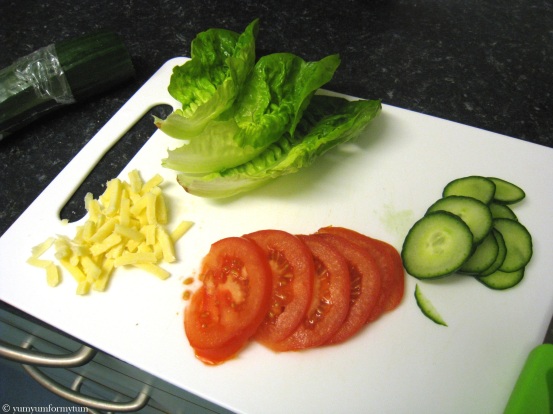
Meanwhile, prepare your filling. I just used a lot of salad vegetables, baby gem lettuce, thinly sliced cucumbers, tomatoes and some grated cheese. For another lunch I used tomatoes, cheese and some pesto for an Italian take. That was yummy too.

Panini salad filling

Then the fun part. Sandwich assembly – just organise your filling inside (I like to put the cheese straight onto the bread so that it melts). The only thing is that because I stuffed the sandwich it was a little bit ‘high’ so I had to squish it together to eat.

Salad Panini lunch

I think this makes a quick and easy lunch by itself (two when you’re hungry) or served with other things – and I would love to hear your favourite sandwich fillings in the comments below to give me some more ideas too!

Homemade garlic bread

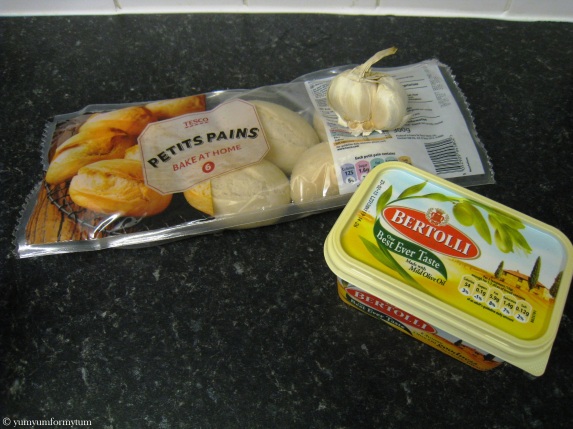
After seeing quite a few shop-bought garlic bread packs taken out of neighbouring freezers and shoved into the oven – I thought I would do a quick post of how to make your own garlic butter. I always find shop-bought garlic bread is nearly always far too buttery, so making your own is a slightly healthier alternative and in my view tastes fresher! To completely make your own garlic bread, you could make lovely little rolls or a baguette from a basic bread recipe – wholemeal is even better. I saw these ‘bake at home’ rolls in Tesco’s on sale and was inspired to make use them for garlic bread so used those instead.

All you will need is some:

-Butter

-Garlic

-Mixed herbs

-Bread rolls

Garlic bread ingredients

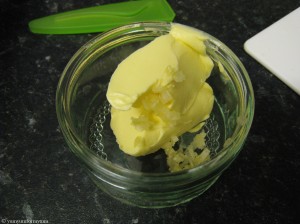
Now there isn’t really an exact ‘recipe’ for this garlic butter so you can just season according to personal taste. Crush and finely chop as much as possible some garlic cloves depending on how much garlic butter you want. For the six rolls here, I used one clove.

IMG_7519

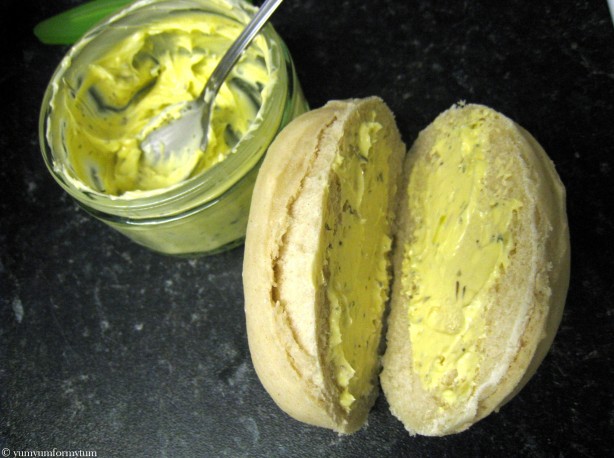
Add a large knob of butter and mix together thoroughly. I also added in some dried mixed herbs at this point. Cut the rolls lengthways with a sharp knife and spread some of the garlic butter inside.

IMG_7523

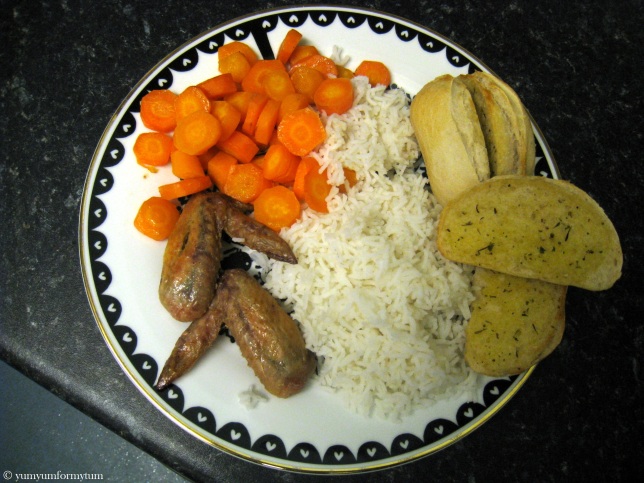
These garlic bread rolls are easy to freeze so you can defrost them as and when you need them. Leftover garlic butter is delicious on toast or a served with steak. I actually ate them with the roast chicken wings, carrots and rice I had for dinner a few nights ago – it was a hearty meal for a starving person!

Hearty dinner

I actually par-boiled the carrots beforehand and then put them underneath the roasting chicken wings to absorb the flavour and juices for the last 10-15 minutes of cooking.

Fried Rice with Peppers +

I know a did a previous blog post a while ago on egg fried rice with some broccoli and sweetcorn, but I really couldn’t resist doing another post with some colourful veg! This time I used peppers and also added a few other things to make it a wonderfully warming winter meal that you can make in no time at all.

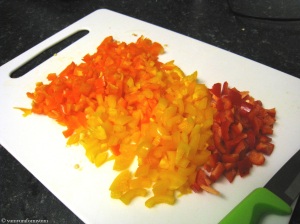
First I prepared the colour array of peppers by slicing them into quite thin strips (similar to julienne prep) and then turning then and cutting again almost into small cubes. This way they hardly need any cooking and will still retain a crunch providing some contrast to the rice.

Rainbow peppers

Now onto the actual cooking. I added a few finely chopped shallots into a hot oiled pan just to give a bit more flavour. After a while, add in the cold rice to warm through and allow it to become a bit crisp. Make sure you break up any large chunks and turn it in the pan. I also added in some fresh root ginger (chopped as small as you can, and also slightly crushed) to the pan. Recently I have really been loving the smell and taste of ginger and find it really gives a warming sensation to the rice (I think it’s also good for colds as clears your sinuses etc.).

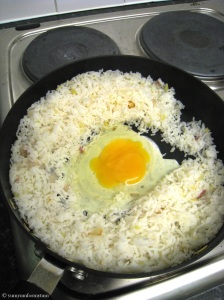
Then to the eggs. I like to make a ‘hole’ in the middle of the pan and crack the egg into here. Then gradually half scramble/mix the rice gradually so that it is distributed throughout.

Fried rice with a funny looking egg

When the rice is nearly ready, I added in the colourful peppers for a few minutes to warm up. Switch off the cooker and drizzle a little soy sauce at this point if you have any to spare – it gives a wonderful seasoning. And there you have it!

Egg fried rice with multi-coloured peppers